Contents
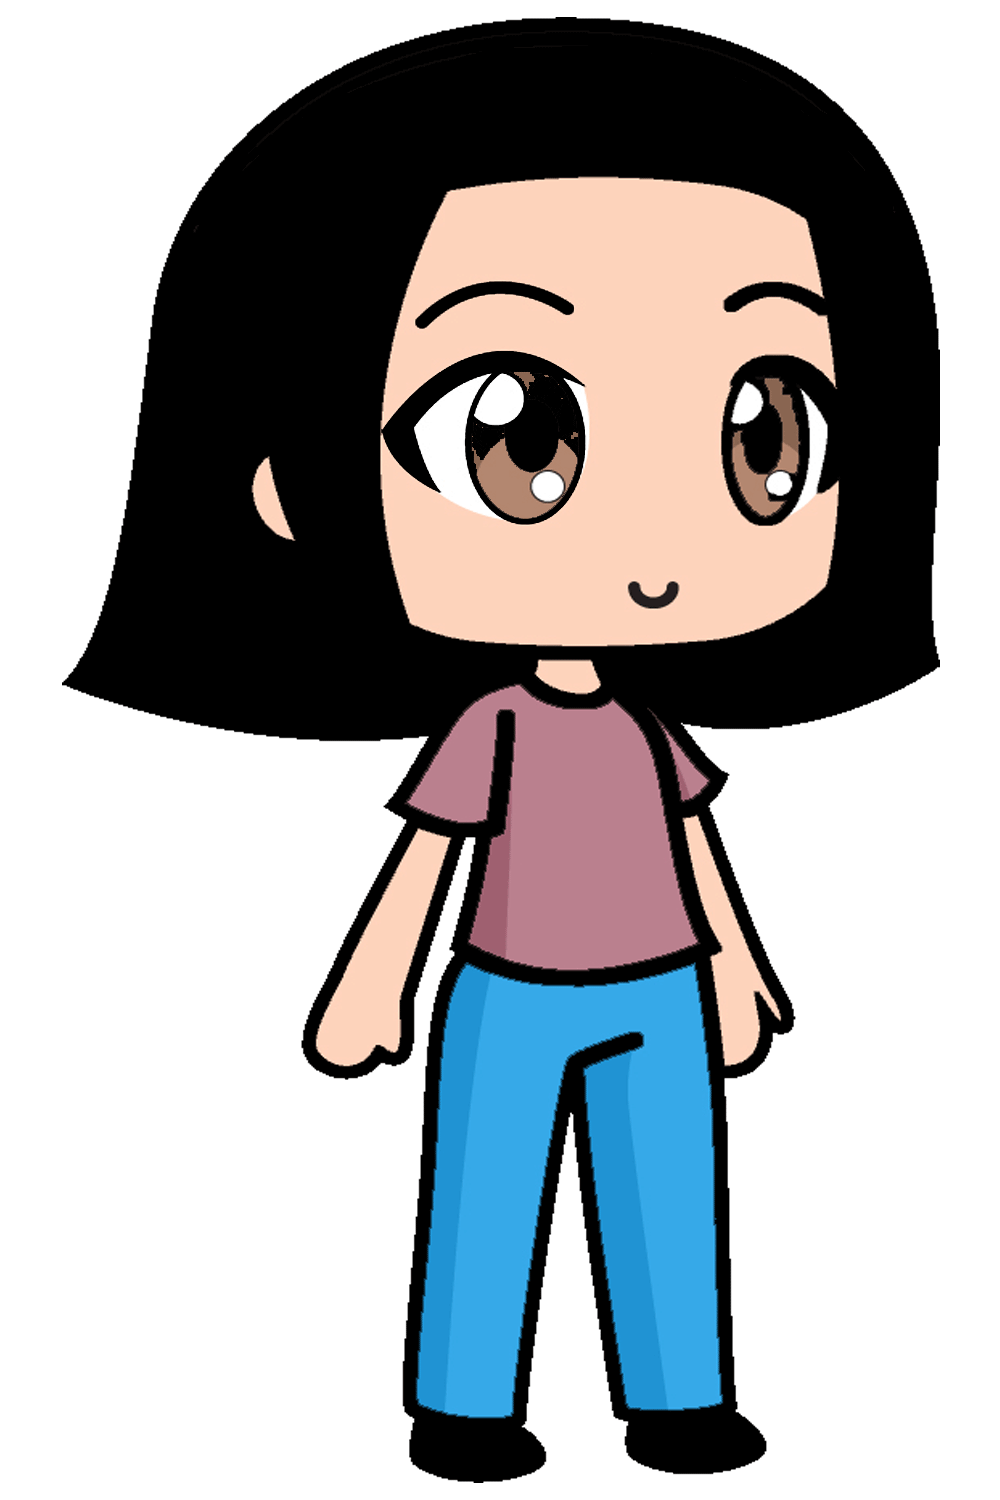
Created in 2018, Gacha Life is a computer game that permits players to make and redo their own anime-style characters. The players can totally customize their characters, from the state of its eyes and its haircut to the attire and the shoes it is wearing. Gacha Life Drawing & tigger drawing easy tutorials on the cool drawing idea website.
To satisfy your desires, we have made a bit by bit instructional exercise on the most proficient method to draw Gacha Life, summed up in 9 simple and fast advances. That’s what’s fun about this instructional exercise is — like the real computer game — you could make the person seem to be a vivified form of you by drawing your unmistakable actual elements!
Begin by drawing a square shape with bended edges to frame the top of your personality. Then, draw a crescent connected on the right half of the head to make the ear.
Since the person is somewhat looking sideways, just a single ear is noticeable.
Ensure that the head is drawn perfectly over the center of the paper. This guarantees that there’s adequate room for the whole body of your personality.
Right under the head, define two short bended boundaries with a little in the middle between to make the neck of your personality.
A while later, continue by drawing the shirt your personality is wearing.
Define an upward boundary on the left side underneath the shirt. Then, at that point, define a more limited vertical boundary lined up with it.
Subsequently, define a flat boundary at the base, interfacing the two endpoints of the upward lines. This makes the left leg of the pant your personality is wearing.
Rehash the past step on the contrary side to finish the sets of pants. As of now, your personality ought to be completely dressed, all it’s missing is a couple of shoes to coordinate with the outfit!
We kept the outfit basic, as you can find in the representations. In any case, go ahead and draw any sort of dress you like! All things considered, it’s your own Gacha Life character!
Draw a bended shape at the lower part of every leg to make the shoes. As you can find in the representation, both of the feet are looking towards the left side in light of the fact that the person is confronting that bearing. Remember that to keep away from error!
Like your personality’s clothing, you can likewise modify the shoes your personality is wearing.
Draw an extended restricted shape under each shirt’s sleeve to make both of the person’s arms.
Remember to make a different bend at the lower part of the two arms to make the thumb!
Go on by drawing the hairline of your personality, which ought to be over the brow. Then, at that point, draw the diagram of the hair encompassing your personality’s whole head.
Obviously, you can likewise customize the hair! You can draw short bounce hair, long wavy hair, or any kind of hair that you like.
You can likewise put the hair on a pig tail, interlace, and some other charming hairdos. This will make your personality more special!
Now that we’ve wrapped up drawing the head and the body of your personality, now is the ideal time to polish off the look by drawing your personality’s facial elements.
Continue by defining two descending bended boundaries close to the brow to shape the angled eyebrows. Thereafter, draw a more modest vertical bend to put a grin on your personality’s face.
Continuing on toward the eyes, draw two huge standing oval shapes under every eyebrow to frame the students. Then, at that point, encase the shape with a calculated line over every oval shape to make the upper cover of your personality’s eyes.
Subsequently, draw three additional shapes inside the student: an upstanding oval in the center, a little circle on the base left, and a crescent on the upper right corner. Presently, conceal the whole oval shape that we attracted inside the student to add feeling to the eyes!
It’s the ideal opportunity for the hotly anticipated part finally! In the event that you found drawing your personality, shading it is unquestionably considerably more pleasant. Here you can exhibit your imaginative abilities and your capacity to blend and match tones.
The varieties you will decide for your personality is altogether dependent upon you! Be that as it may, here’s a helpful hint: to make a complexion tone, just consolidate the varieties white, yellow, blue, and red.Contingent upon the composition you’re attempting to accomplish, you might have to add even more a particular tone.
Observe that complexion tones are best accomplished while utilizing shading materials that are genuinely simple to mix like watercolor or acrylic paint!
Also Read news cognition